Access Your Raspberry Pi: Windows 10 Remote Access Guide
Can you truly harness the power of your Raspberry Pi from anywhere in the world, turning your Windows 10 machine into a seamless control center? The answer is a resounding yes, unlocking a realm of possibilities for remote projects, IoT setups, and development, all at your fingertips.
The modern landscape of computing is increasingly defined by the ability to access and control devices remotely. This is particularly true for enthusiasts, hobbyists, and professionals working with single-board computers like the Raspberry Pi. The Raspberry Pi, with its compact size and impressive processing capabilities, has become a cornerstone of countless projects, from home automation systems to media servers and robotics.
This capability is more than just a convenience; it's a necessity. Consider the scenario of managing a home server while you're away on business, monitoring a remote weather station in a hard-to-reach location, or debugging code on a development machine without needing physical access. The ability to remotely access your Raspberry Pi on a Windows 10 system provides this vital control and accessibility.
- Flowood Drug Company Your Trusted Pharmacy In Flowood Ms
- Meghan Markles Deal Or No Deal Revelation Objectification Before Royalty
The core benefit of accessing your Raspberry Pi remotely lies in the freedom and flexibility it provides. You can control your device from anywhere with an internet connection, eliminating the need for physical proximity. This is especially useful for "headless" setups, where the Raspberry Pi operates without a connected monitor, keyboard, or mouse. This remote access unlocks the potential to manage your device from any location globally.
The journey to establishing remote access involves configuring both the Raspberry Pi and the host computer, typically a Windows 10 machine. Fortunately, the process has been simplified through tools and technologies that streamline the setup. We're exploring the nuances of setting up a remote desktop connection, exploring the tools and steps.
One of the key tools for achieving remote access is VNC (Virtual Network Computing). VNC is a technology that allows you to view and control the graphical desktop of your Raspberry Pi from another computer. It works by transmitting the display output of the Raspberry Pi to your Windows 10 machine, while simultaneously allowing you to send input commands (keyboard and mouse) back to the Raspberry Pi. This creates the illusion of sitting directly in front of your Raspberry Pi.
- Lauren Compton Leaks Scandal What You Need To Know Now
- Who Is Courtney Mazza Everything About Mario Lopezs Wife
While VNC offers a powerful solution, it traditionally provided access only within the same local network as the Raspberry Pi. This is where the concept of remote access over the internet becomes crucial. Several methods and tools allow you to circumvent this limitation, including the use of cloud services, port forwarding, and dynamic DNS. These techniques enable you to establish a secure connection to your Raspberry Pi from anywhere in the world.
The steps to establishing remote access typically involve installing and configuring VNC server software on the Raspberry Pi, and VNC client software on your Windows 10 machine. Additionally, if you want to access your Raspberry Pi from outside your local network, you'll need to configure your router to forward specific ports to your Raspberry Pi's IP address. This essentially allows external traffic to reach your Raspberry Pi.
A key component of this setup is security. When you expose your Raspberry Pi to the internet, it becomes a potential target for unauthorized access. Therefore, it's critical to secure your remote access connection. This includes using strong passwords, enabling two-factor authentication, and keeping your Raspberry Pi's operating system and software up to date. Regular security audits are also a good practice.
Let's delve into the practical steps of setting up remote desktop access to your Raspberry Pi. We will utilize RealVNC Connect, a well-regarded remote access solution that simplifies the process. This guide will break down the setup process, offering troubleshooting tips and best practices to optimize your experience.
The foundation for any Raspberry Pi project is the operating system. The Raspberry Pi Foundation provides its own Linux-based operating system, Raspberry Pi OS, which is specifically designed for these single-board computers. Raspberry Pi OS offers a user-friendly interface and a wide range of pre-installed software, making it ideal for both beginners and experienced users.
To install Raspberry Pi OS, you can use the Raspberry Pi Imager tool. This intuitive software streamlines the process of writing the operating system image to a microSD card, which is then inserted into the Raspberry Pi. The Imager tool also provides options for preconfiguring settings like Wi-Fi credentials and SSH access, further simplifying the setup.
Before getting started, ensure you have the necessary hardware: a Raspberry Pi board (any model will work, such as Raspberry Pi 4, 3 Model B, or 2 Model B), a microSD card (at least 8GB recommended), a power supply for the Raspberry Pi, a computer with an SD card reader, and an internet connection.
Heres a table summarizing the steps involved in setting up RealVNC Connect for remote access, presented in a format suitable for easy integration into a WordPress environment or similar content management systems:
| Step | Action | Details |
|---|---|---|
| 1 | Install Raspberry Pi OS | Use Raspberry Pi Imager to write the OS to a microSD card. |
| 2 | Enable SSH (optional but recommended) | Configure SSH in Raspberry Pi Imager for remote command-line access. |
| 3 | Install RealVNC Server on Raspberry Pi | Follow the on-screen prompts. |
| 4 | Enable VNC in Raspberry Pi configuration | Use `sudo raspi-config` or the GUI configuration tool. |
| 5 | Download and install RealVNC Viewer on Windows 10 | Obtain the software from RealVNC's website. |
| 6 | Connect to your Raspberry Pi | Use the Raspberry Pi's IP address or RealVNC account credentials. |
| 7 | Troubleshooting | Check network connectivity, firewall settings, and VNC server status. |
This comprehensive process offers a detailed roadmap for establishing remote desktop access. The initial installation of Raspberry Pi OS is the cornerstone upon which the remote access capabilities are built. The setup through the Raspberry Pi Imager is a crucial step, creating a solid foundation for the Raspberry Pi's operating environment.
Once the operating system is installed, the next step involves configuring RealVNC Server on your Raspberry Pi. RealVNC offers a straightforward and user-friendly remote access solution. By installing and enabling the RealVNC Server, you make the Raspberry Pi's desktop accessible over the network. This step simplifies the process, making it accessible to a wider audience.
After installing the RealVNC server on the Raspberry Pi, you must download and install the RealVNC Viewer on your Windows 10 machine. This Viewer is the client-side application that allows you to connect to your Raspberry Pi. Download this from the official RealVNC website.
Once the client is installed, you can connect to your Raspberry Pi using the Raspberry Pi's IP address and the credentials you've set up. Alternatively, you can use your RealVNC account to establish the connection. It facilitates a secure and direct link to the Raspberry Pi's desktop environment.
Network configurations can be the source of some difficulties. One common issue is the Raspberry Pis IP address. If the IP address is dynamically assigned, it may change over time, disrupting your ability to connect remotely. To avoid this, you should configure a static IP address for your Raspberry Pi. This ensures that the IP address does not change.
Another important aspect is the firewall settings on both your Raspberry Pi and your Windows 10 machine. The firewall may block the VNC connection. You need to ensure that the firewall is configured to allow incoming connections on the port used by VNC (typically port 5900). The firewall will not interfere with the connection if it is properly configured.
Also, ensure your router is correctly configured to forward traffic to your Raspberry Pi on the VNC port. This typically involves accessing your router's configuration interface and creating a port forwarding rule. The port forwarding is essential for accessing your Raspberry Pi remotely from outside your local network.
Sometimes, the VNC server on the Raspberry Pi might not be running correctly. Verify its status. If it is not running, you need to start it. You can typically check and control the VNC server through the Raspberry Pi's configuration tools or through the command line.
When facing connection issues, a basic check is to confirm the Raspberry Pi and Windows 10 machines are connected to the same network. This might appear obvious, but it's a frequent cause of problems. The machines won't be able to connect if they aren't on the same network.
In the scenario of attempting to copy a file from your Windows 10 machine to your Raspberry Pi, the process relies on secure copy (SCP). This command-line utility simplifies transferring files between devices. By employing `scp`, you can seamlessly copy files like `myfile.txt` from your Windows 10 machine to the user's home directory on the Raspberry Pi. You'll need the username used to log in to the Raspberry Pi and the Pis IP address to execute this command properly.
You can streamline these processes by using tools that simplify complex tasks, such as Raspberry Pi Imager, making the installation process straightforward. Moreover, RealVNC Connect simplifies the access process, enabling you to access your Raspberry Pi's desktop through any modern web browser. You get access to your projects anywhere.
The Raspberry Pi's versatility extends beyond the typical desktop environment. It is capable of being deployed in "headless" setups that operate without a connected monitor, keyboard, or mouse, which is particularly advantageous. These configurations allow you to place your device in situations with limited space or difficult accessibility.
The possibilities that stem from remote access on your Raspberry Pi are vast. Whether managing a home server, controlling smart devices, or working on remote development projects, remote access is a key component. Consider a home automation system. It allows remote control of lights, thermostats, and security systems. It is possible to monitor and control sensors, cameras, and other IoT devices. Development projects benefit from the ability to debug and test code on the Raspberry Pi from a remote location.
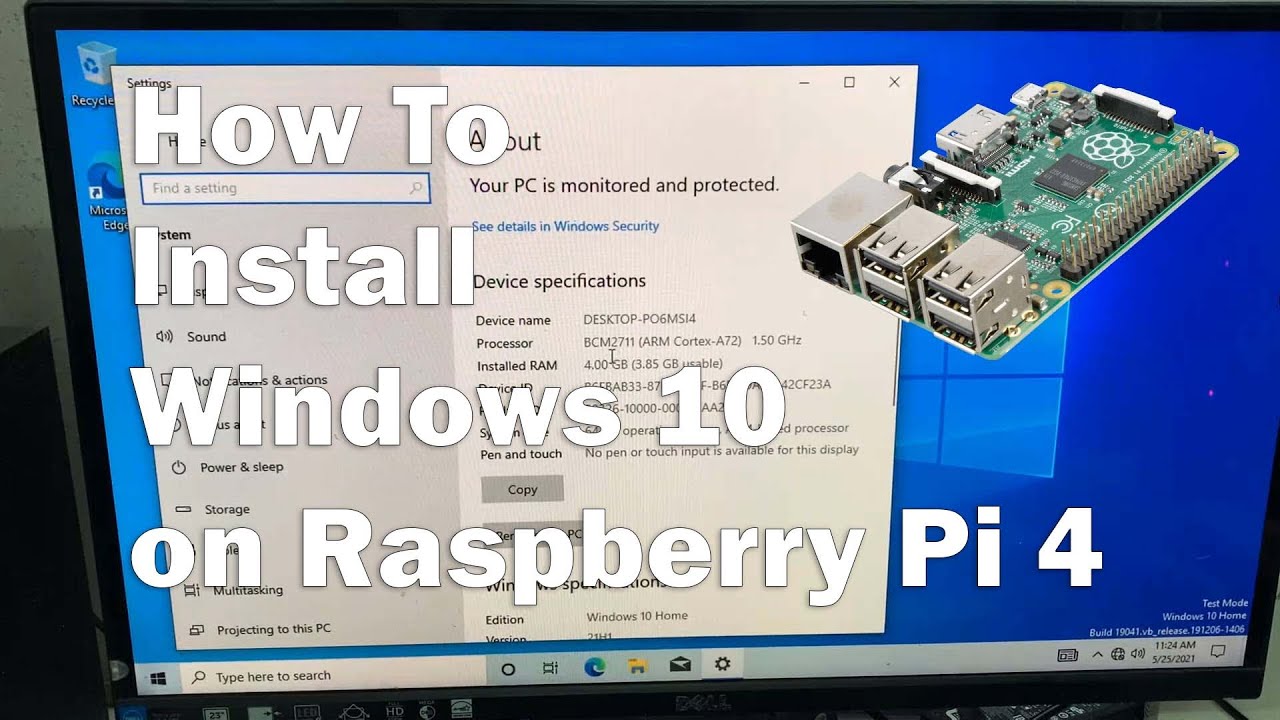
Windows and Raspberry Pi share a long history. Microsoft's foray into the world of ARM-based systems has included the development of an ARM version of the full Windows 10 system, which will provide expanded capabilities for Raspberry Pi users in the future.

Detail Author:
- Name : Hertha Fahey III
- Username : russell23
- Email : stan36@maggio.com
- Birthdate : 1993-12-02
- Address : 3056 Adams Alley South Raymundotown, CT 02641-7744
- Phone : 810-602-1402
- Company : Lockman, Lockman and Langosh
- Job : Compensation and Benefits Manager
- Bio : Qui fugit omnis consequatur vitae a rerum eaque. Nihil dolorem ut temporibus numquam non nulla praesentium. Aut quo ut non commodi soluta. Sapiente libero et aut.
Socials
facebook:
- url : https://facebook.com/carter2007
- username : carter2007
- bio : A tenetur omnis nihil sunt dicta aut.
- followers : 4691
- following : 823
linkedin:
- url : https://linkedin.com/in/rubiecarter
- username : rubiecarter
- bio : Asperiores eos sit nemo excepturi.
- followers : 3866
- following : 2616
